I often catch myself thinking of things that I’m missing out on living on the other side of the world. (Ohh, Target!) Even more often I dwell on what my kids are missing…libraries, parks, family, friends, etc. I don’t think many of us would classify our lives as “easy.” But God didn’t call us to easy, did He? This little story from our first year in China still makes me laugh, reminds me that life isn’t easy here since we miss out on so much at home, but that memories are still being made and lives are hopefully being impacted for the kindgom.
It was Easter weekend in a tiny suburb of Beijing. Our team decided to reach out to our apartment complex community and host a little Easter egg hunt. We had no idea what we were in for.
We were able to buy some plastic eggs and stuff them with goodies. But, they were expensive, so we also boiled several dozen the day before and used it as a time to invite students over to decorate them. So, we had several dozen eggs on hand. We had 3 kids on the team: 3, 2, and not yet 1. The older ones were elated to be able to do this Easter activity! Although, I’m not sure they really grasped the whole idea.
Anyway, that morning, a few of the teammates went out early to the grassy area to hide some of the eggs. Then about an hour later, the rest of us showed up with balloons and other goodies to hand out to our neighbors.
A crowd gathered quickly. None of us could speak Chinese fluently at that time, so a few of us did the best we could to explain what was going to happen. Eggs were hidden in the grass. Take your child (grandchild) around and look for them. Whatever you find, you get to keep!
Except there was one problem. As we were explaining this, we spotted some grannies going around picking up all the eggs and shoving them into their pockets. Those of us with kids decided we better get our littles out there quick if they wanted to find any loot!
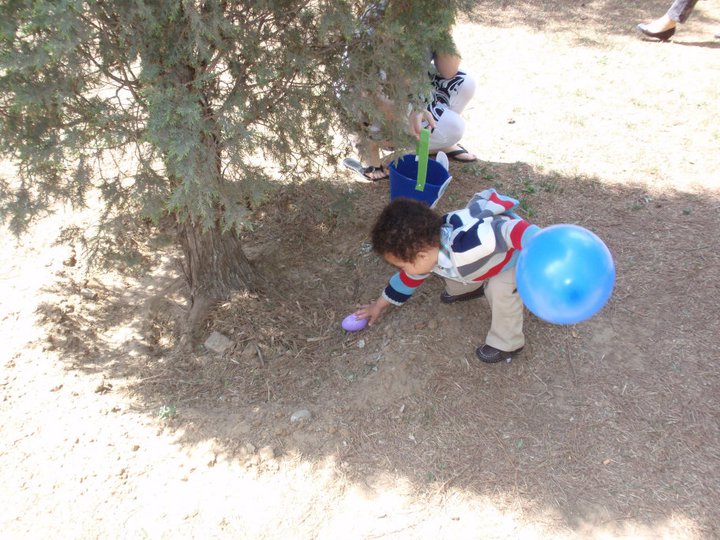
Josiah ended up with 3 eggs. Over 50 were “hidden!”
Somehow, my husband discovered a bag of eggs that hadn’t been hidden yet. So he quickly started hiding them, trying to give our kids and the Chinese kids that had gathered a chance to find some. I looked around to find where he was hiding them so I could steer my little guy his way, and what do I see? A granny literally trailing him, picking up every egg he put down!
Clearly, everything was lost in translation. What else could we say? I’m sure they were all thinking, “Why in the world are these weird foreigners putting food on the nasty ground?!”
Our kids came away with a few eggs (and a few tears). And we lovingly dubbed this woman (the one who trailed my husband): The Granny Who Stole Easter.
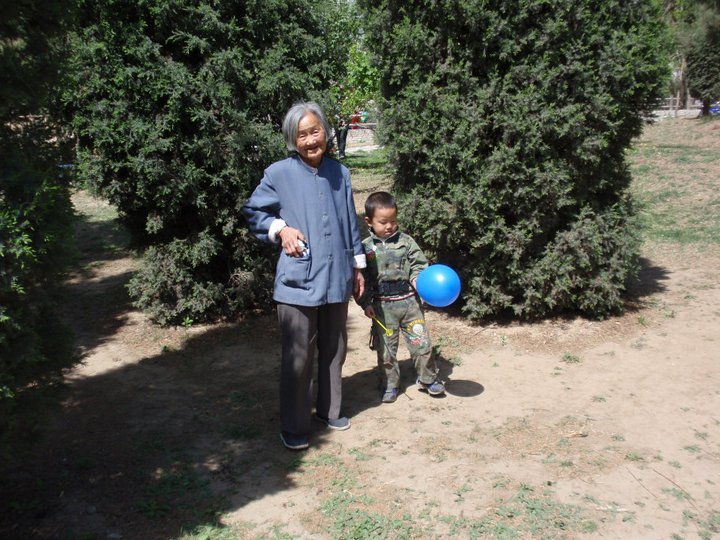
Hello, bulging pockets!
At the time, it was frustrating. Now, it’s hysterical. Eternally, I hope the chaotic event made them wonder what Easter is, or at least see that the foreigners were trying to reach out and love on them a little. Am I sad sometimes that my kids don’t get to go on a huge Easter egg hunt with all their friends? Sure, but I can’t wait to tell them this story! I have to keep reminding myself that the memories we are making here as just as precious as they would be in America, and often times much more entertaining!
Our team usually does an Easter meal. Growing up, we always had ham. I thought it was impossible to make in China, which is ironic since the locals eat mostly pork. But, I found out that all you need is a little curing salt, a few other local ingredients, and a few days. Comment below if you want the link to how to cure your own ham.
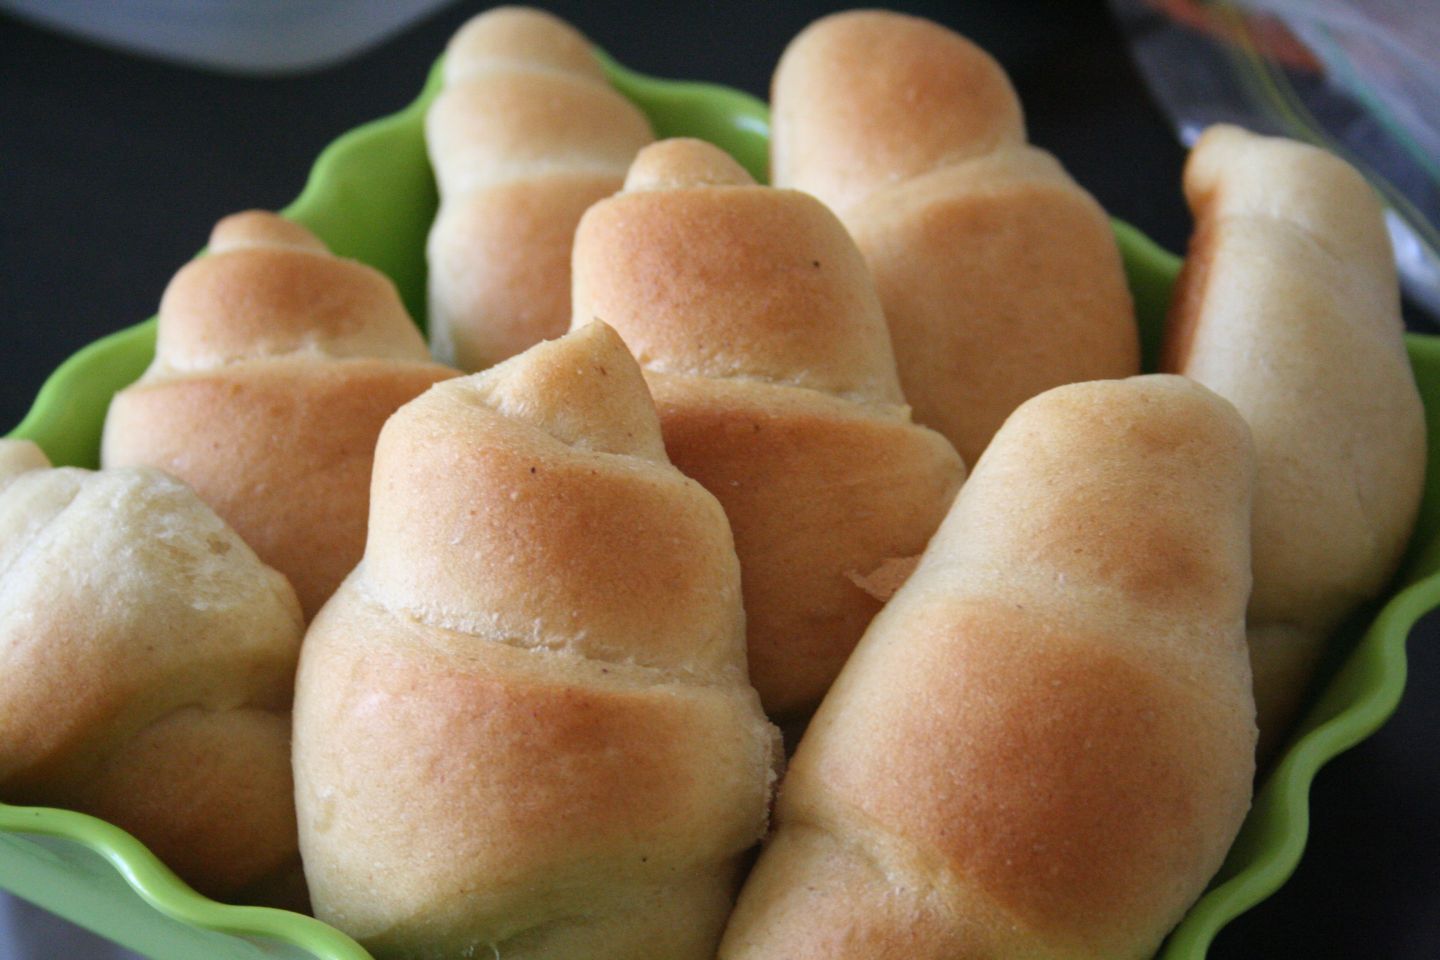
Beyond ham, I love a good roll. Below is an easy crescent roll that I make nearly every week. I like it because it doesn’t require the full double rise like most breads do. Give it a whirl and let me know yours turn out!
And, as a bonus, I love a good side. This one was too simple to make a post on its own, so I thought it’d be good for an Easter dinner side. Roasted carrots. Easy and delish!

Remember our friend, yeast? Don’t be scared, just make sure you use warm, not hot water, and let ’em grow!
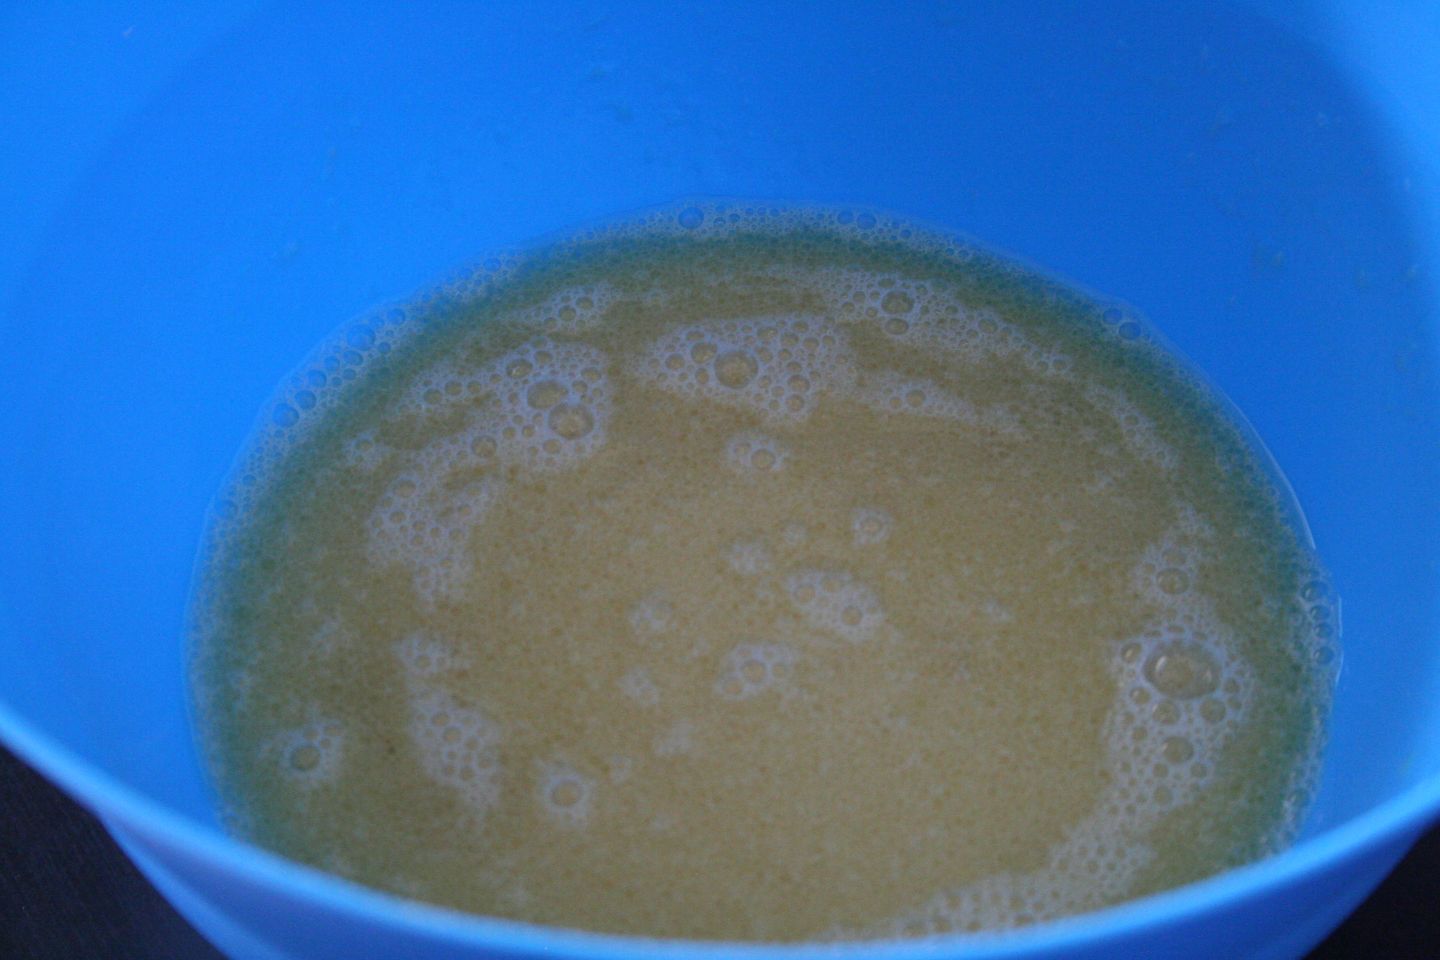
Mix together all the ingredients except the flour. See, this is easy!!
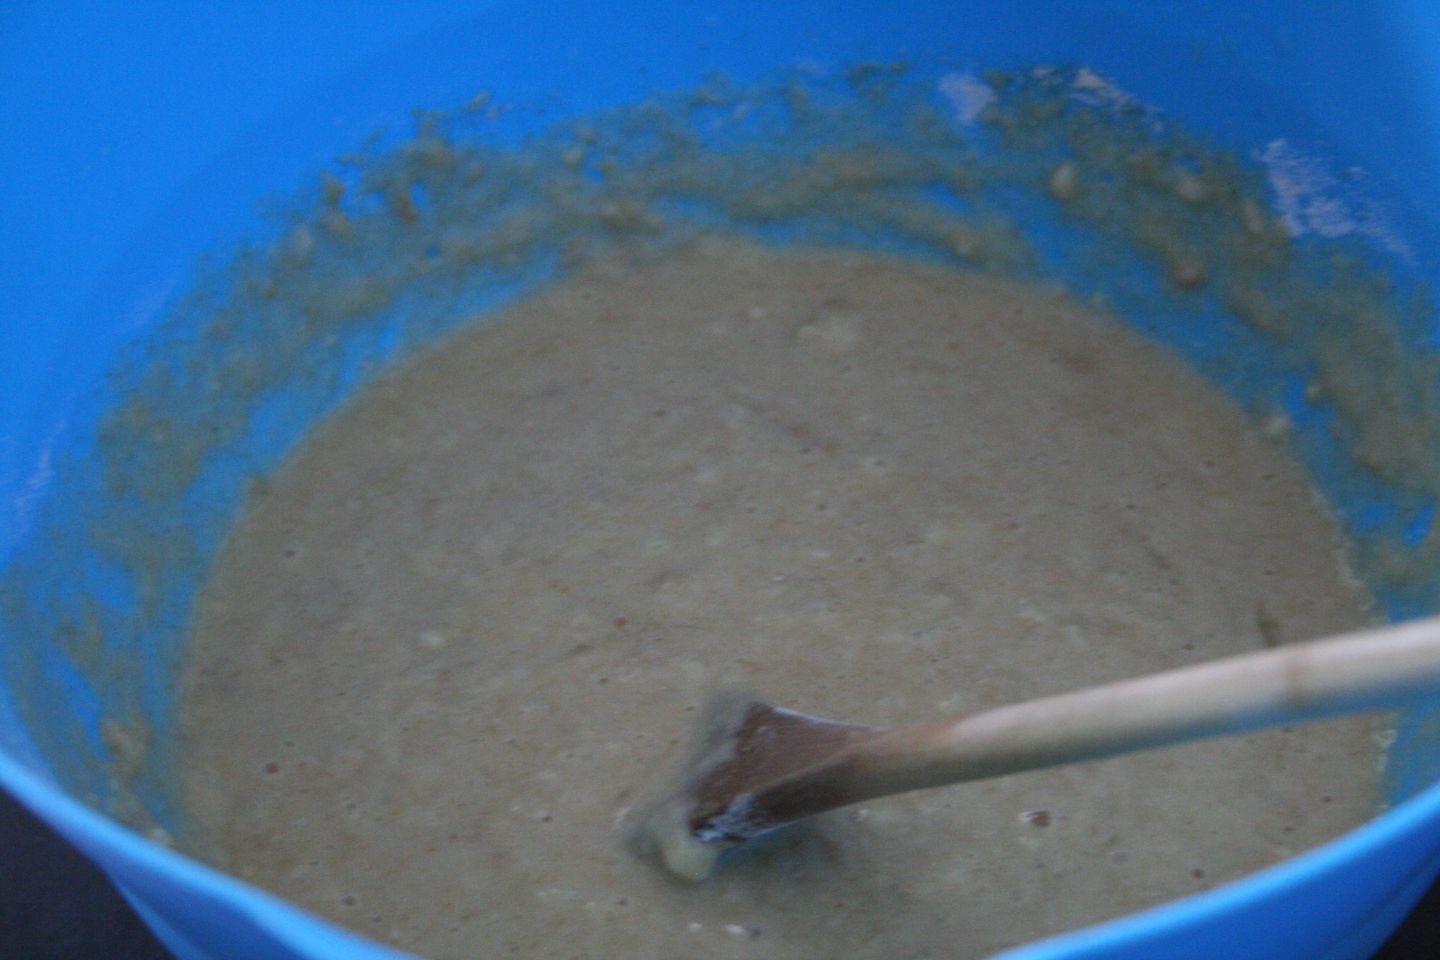
In this batch, I added some ground wheat flour. You don’t have to, but if you do, only add about 1 cup.

This is after adding 4 cups of flour. Getting my arm work out for the day!
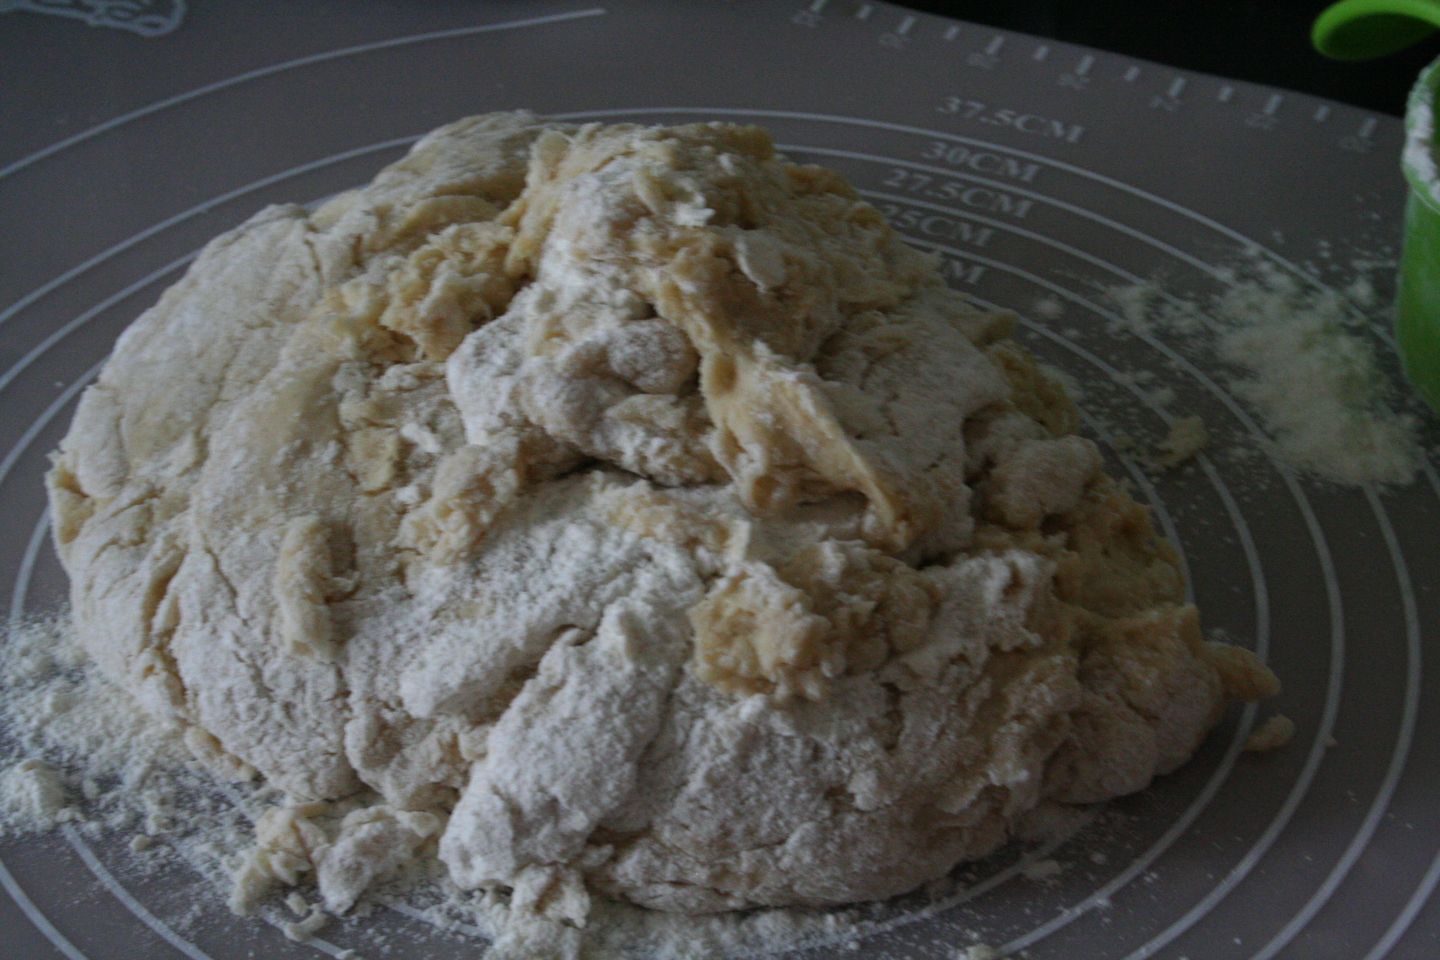
I prefer to work with my hands when it gets to this stage, adding flour as needed to prevent it from sticking to my hands or the mat.

After you get it kneaded into a nice ball (oops, no pic), set it in a warm place to rise. Hooray for spring time–my window sill is warm again! And the paint splatters remain from when they painted in the fall. Oops?
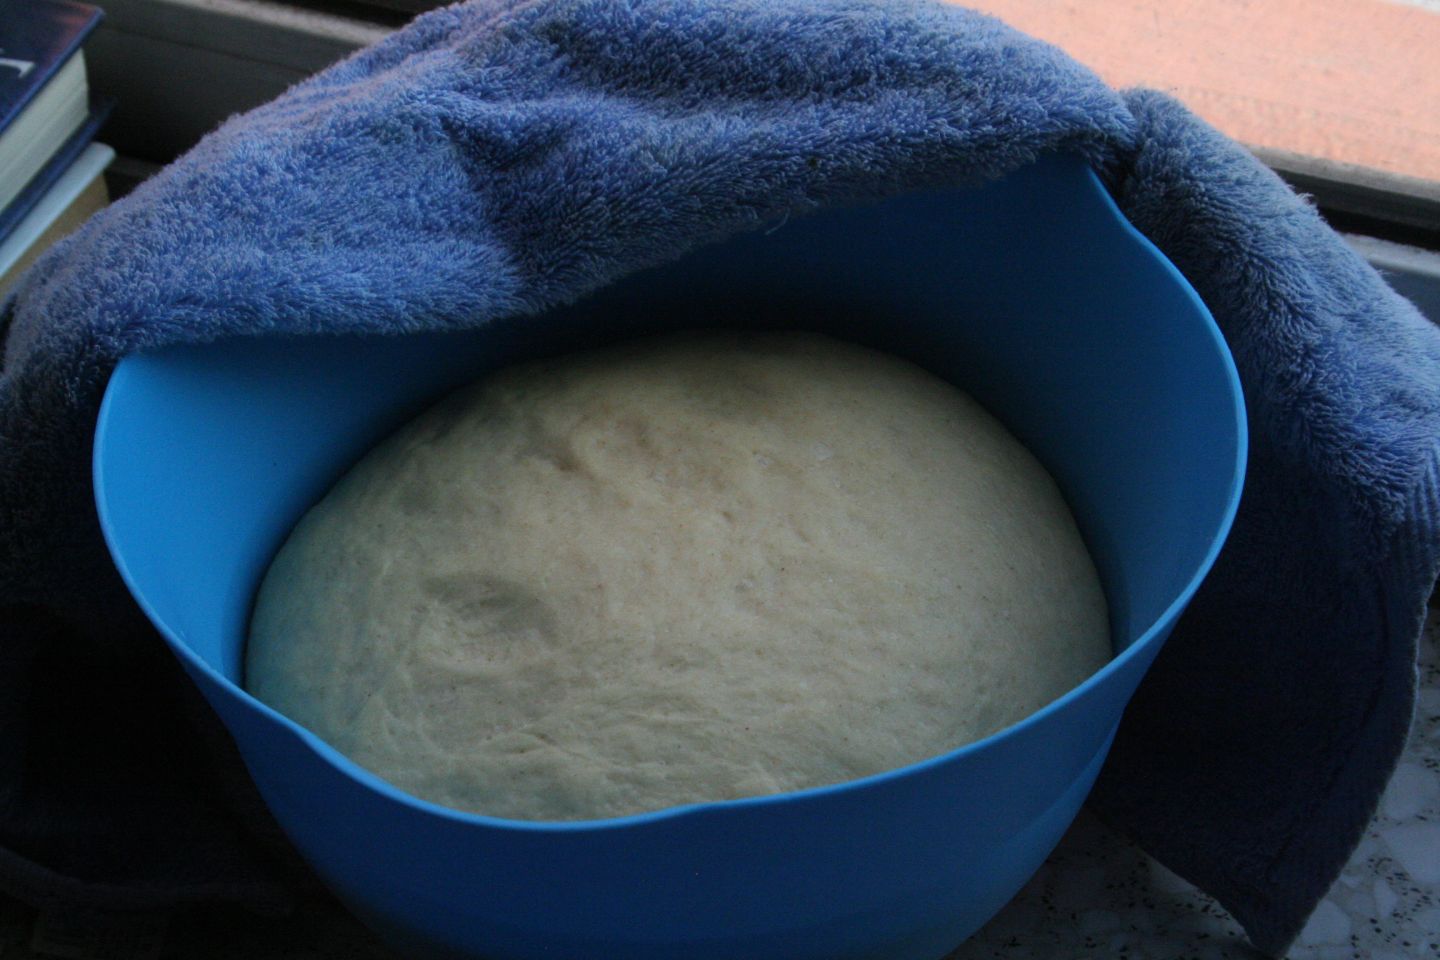
After about an hour, it’s double in size. This is my favorite part–punching it down!
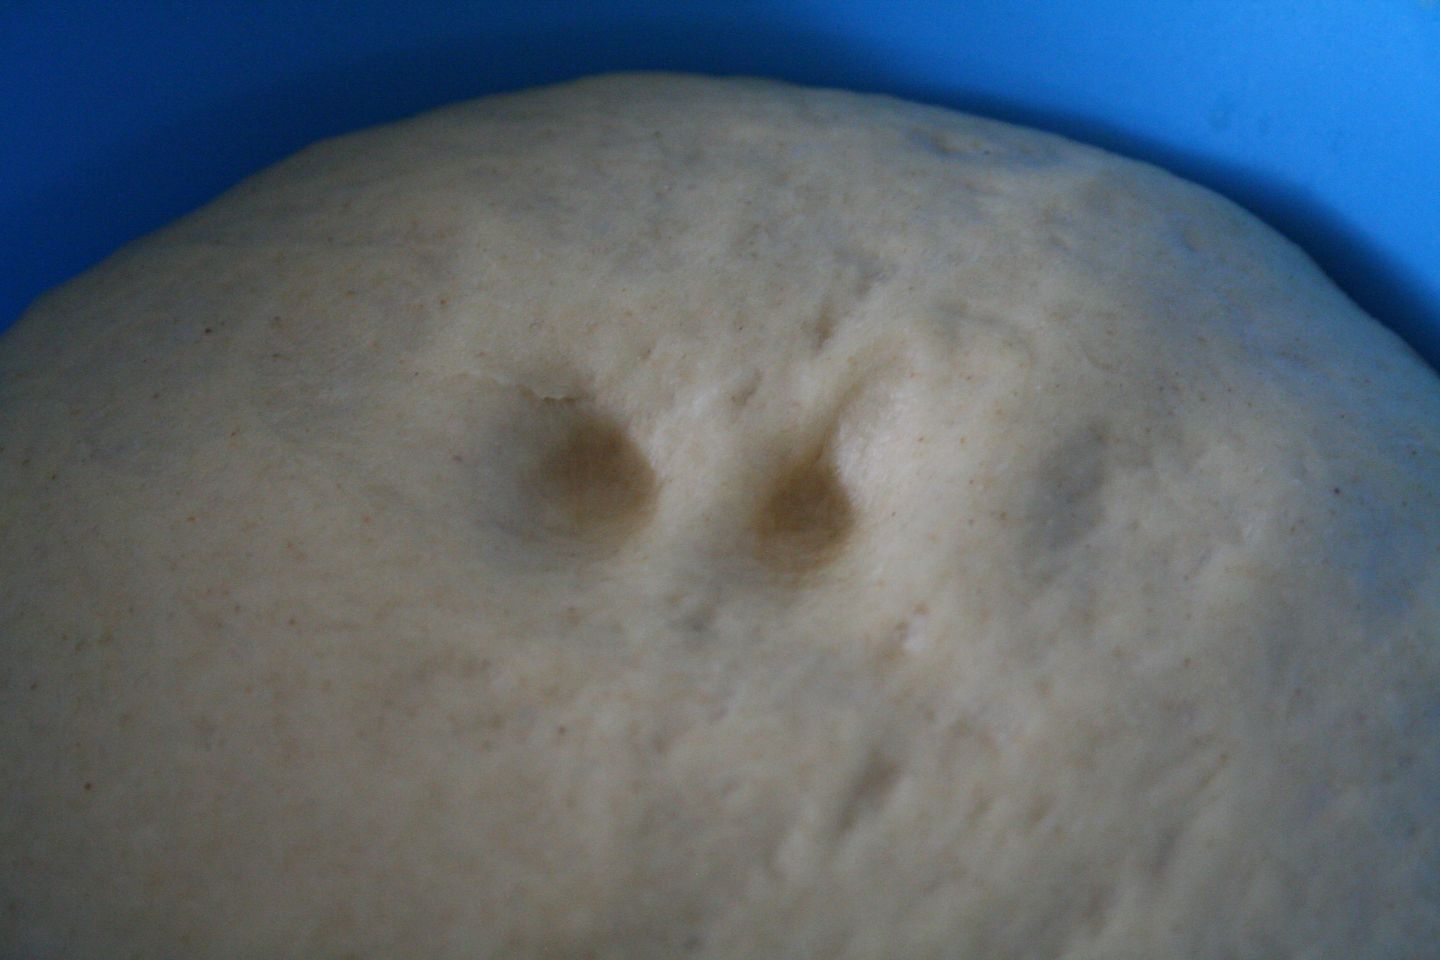
To test if your dough has risen enough, you should be able to gently press a finger in, and it won’t bounce back.
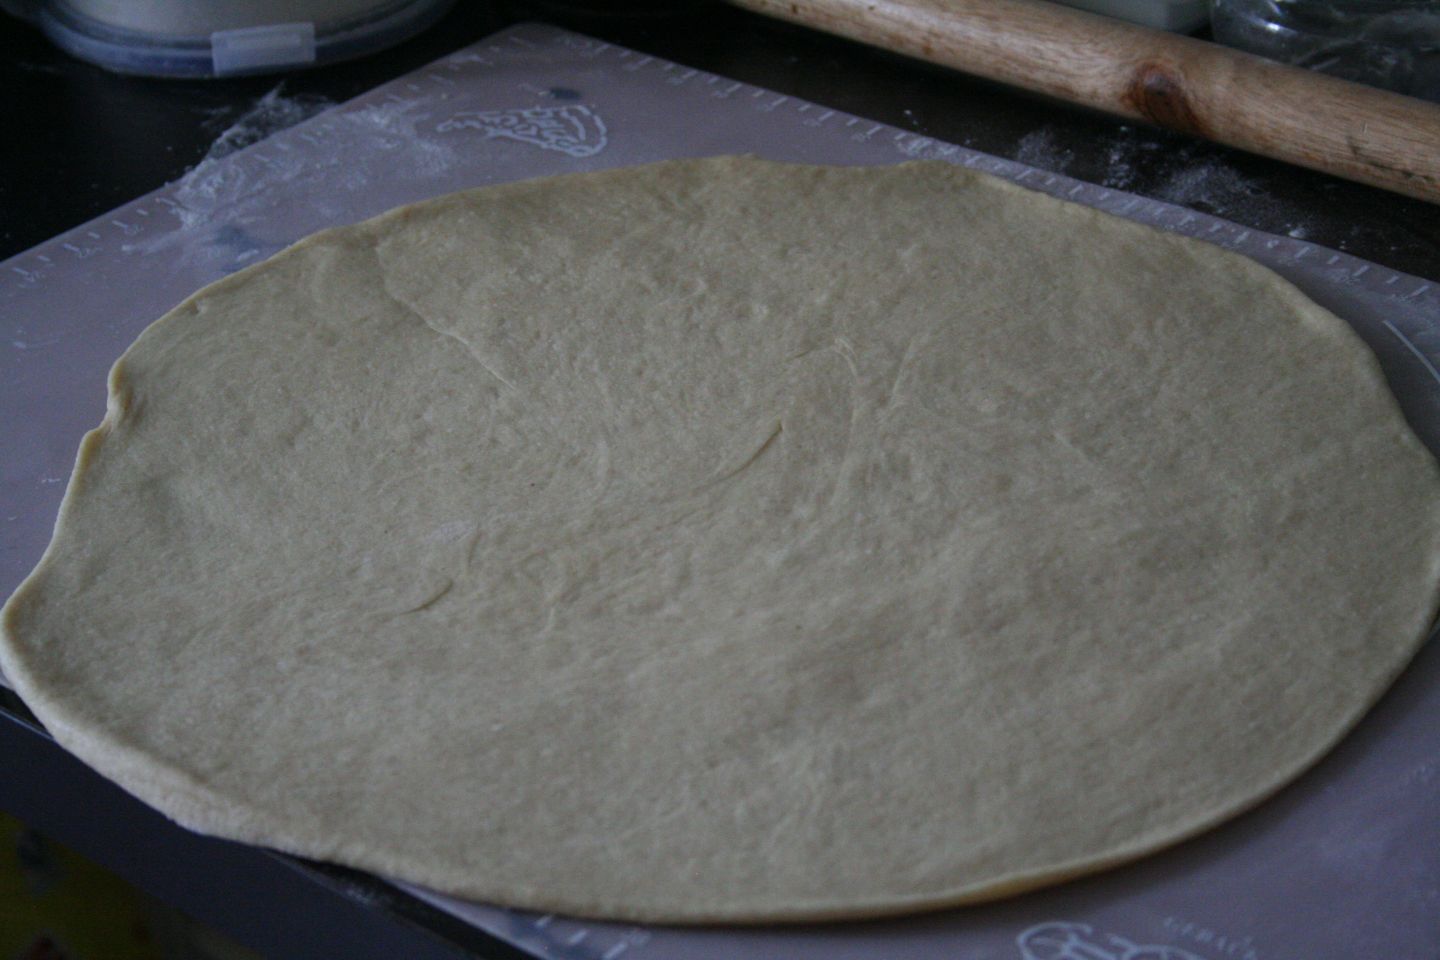
Divide into 2 parts, then roll ‘er out into something similar to round.
Mmm…slices of heaven.
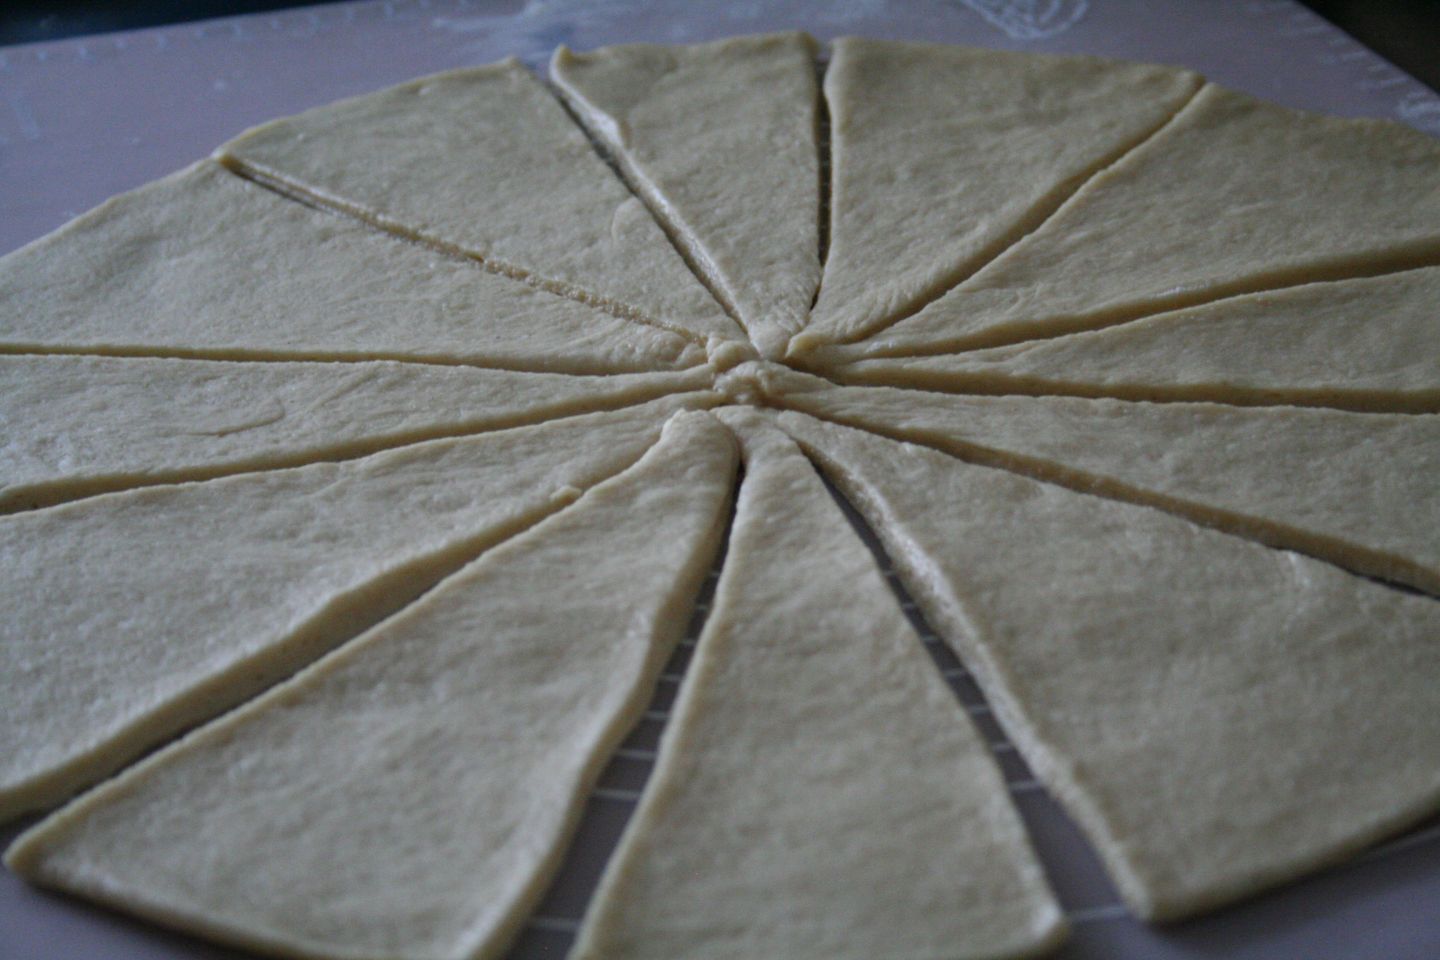
Who knew it was this easy to roll and get all those fluffy layers?!

This is after 20 minutes of rising. You can do as little as 10 (but your rolls will be smaller) or up to 45-ish (your rolls will be bigger and fluffier).
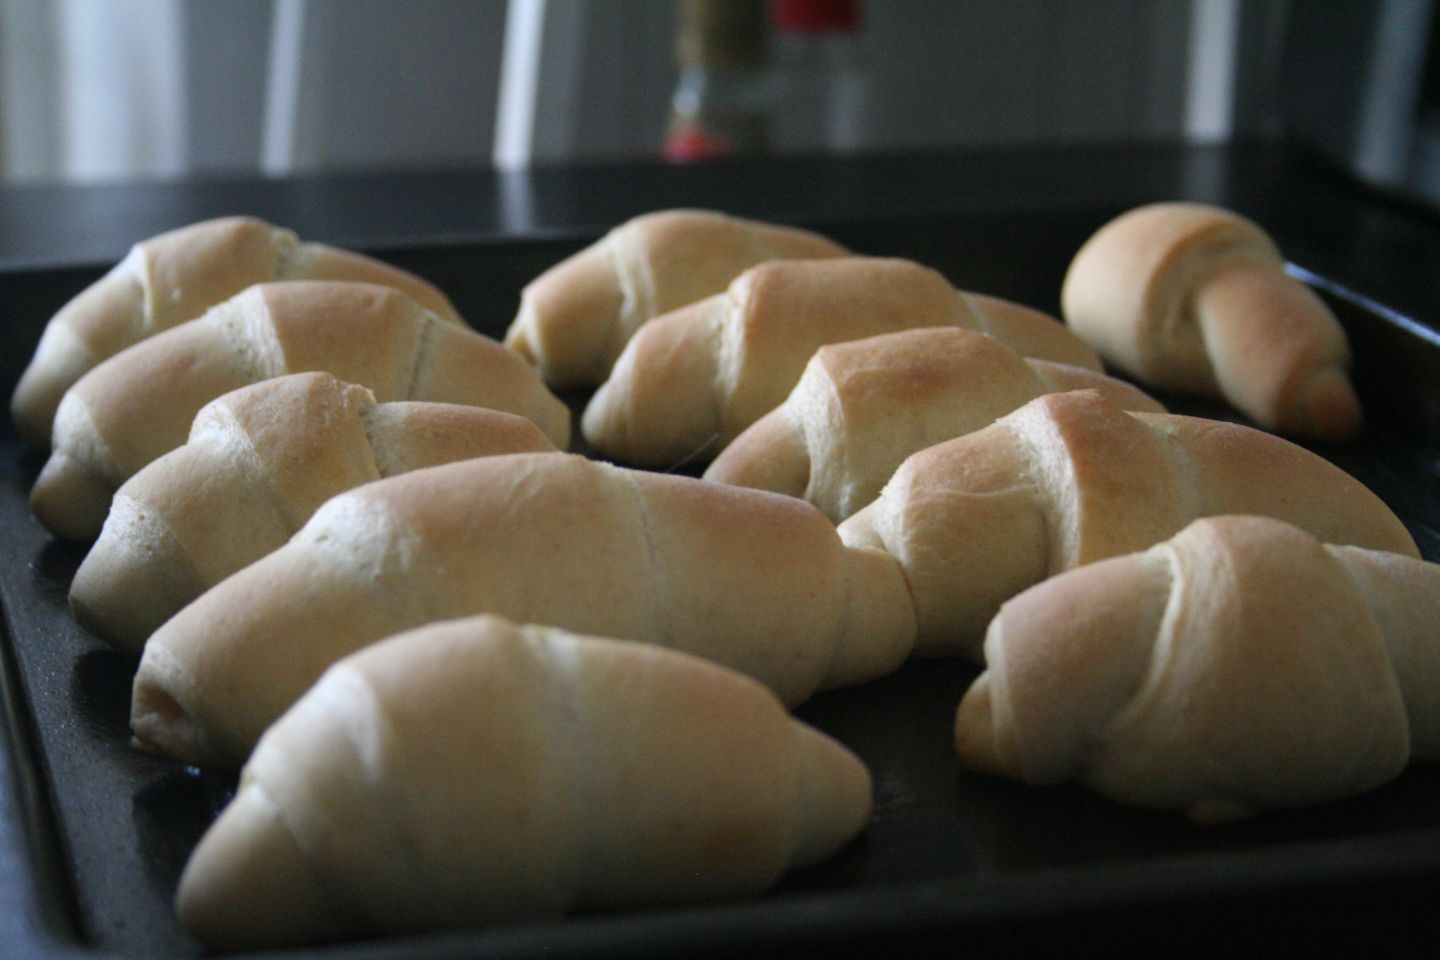
There’s just nothing like the smell of freshly-baked bread!

A certain 4-year-old couldn’t wait to get his hands on one.
Homemade Crescent Rolls
Time: About 2.5 hours, including rising
Makes 2 dozen
Adapted from Market2Meal (If you’ve never seen this site, visit it! She lives overseas herself and has lots of great ideas for substitutions and recipes to make without using tons of imported products!)
1 Tbs yeast
3 Tbs warm water
1/2 tsp sugar
1/2 cup oil
1 tsp salt
1 cup warm (not hot!) water
2 eggs
1/2 cup sugar
4-5 cups flour
In a large bowl, dissolve yeast and 1/2 tsp sugar in 3 Tbsp warm water. Once yeast is bubbly, mix together salt, 1 cup of warm water, oil, eggs, sugar. Add 2 cups flour and stir well. Add remaining flour, one cup at a time. Once you have a “kneadable” dough (not too sticky), knead for 5-sih minutes until it turns into a soft, smooth dough. Place dough in a greased bowl, turn over to grease the other side, and cover with a towel or plastic wrap. Place in a warm spot and allow to rise until double, about an hour.
Punch dough down and separate into 2 pieces. Roll first piece into a large round circle, about 1/4 inch thick. Using a knife or pizza cutter, cut dough into 12 pie-shaped wedges.
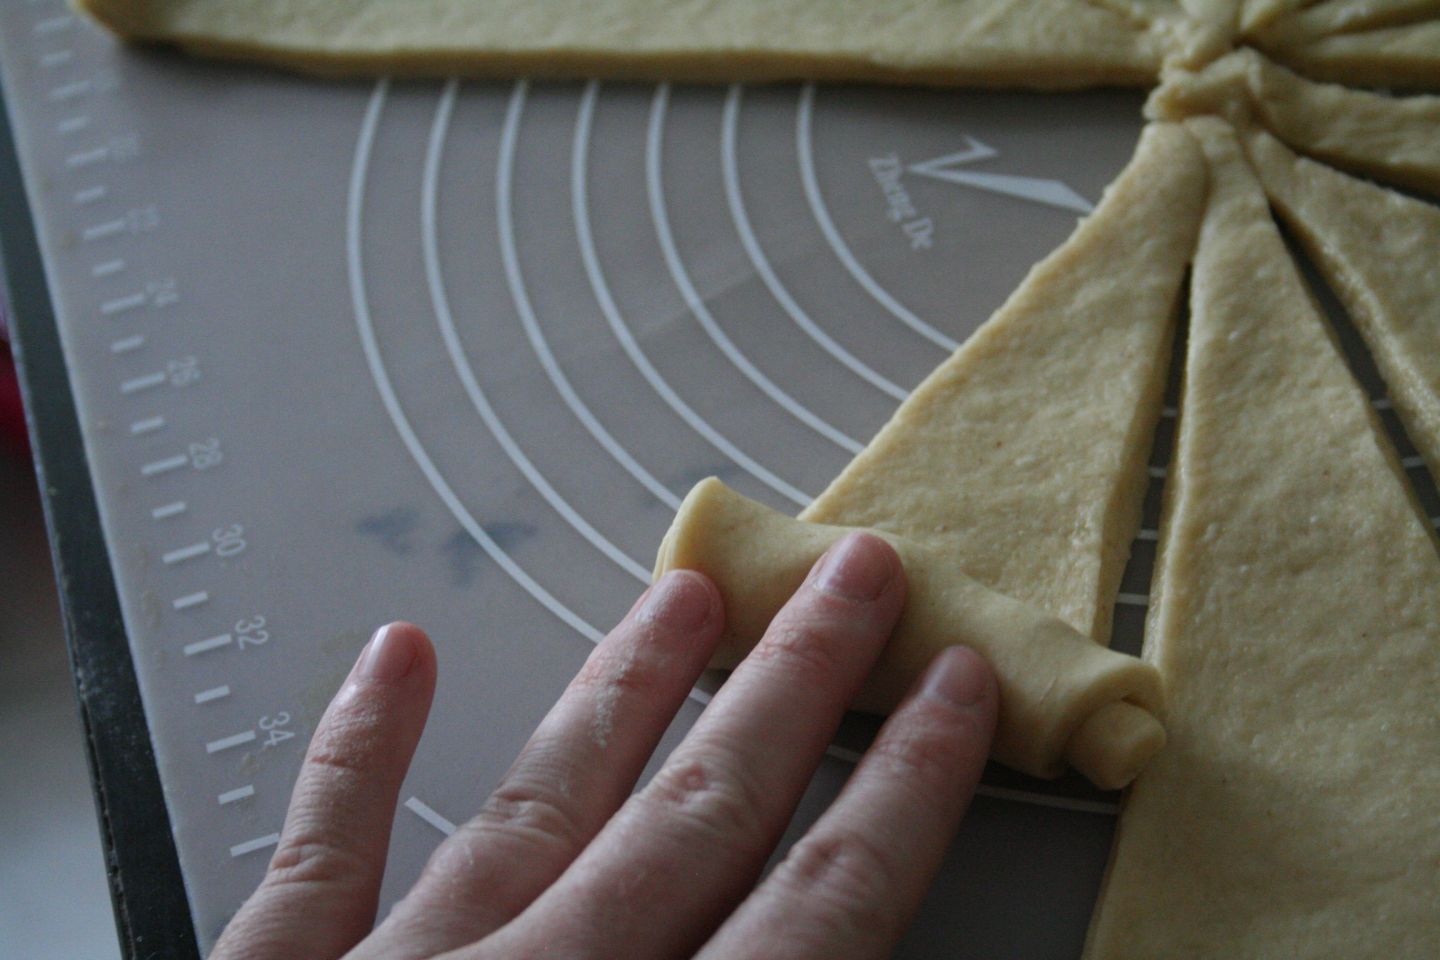
Starting from the large end, roll each pie piece up, tucking the pointed end underneath. Place on greased cookie sheets. Repeat with 2nd piece of dough. Cover the rolls with a towel and allow to rise and approximately double in size, about 20-30 minutes. Preheat oven to 375F (195C) while rolls are rising. Bake about 8-10 minutes, until golden brown.
Bonus Recipe: Roasted Carrots
Roasted veggies have become all the rave lately (according to Pinterest). I’m always struggling to find an easy side that won’t use up one of my 2 burners. This fits the bill and my boys devour them! You can do other veggies, too, of course. I’ve done broccoli, squash, and tomatoes, but carrots are our favorite. They turn so sweet in the oven!
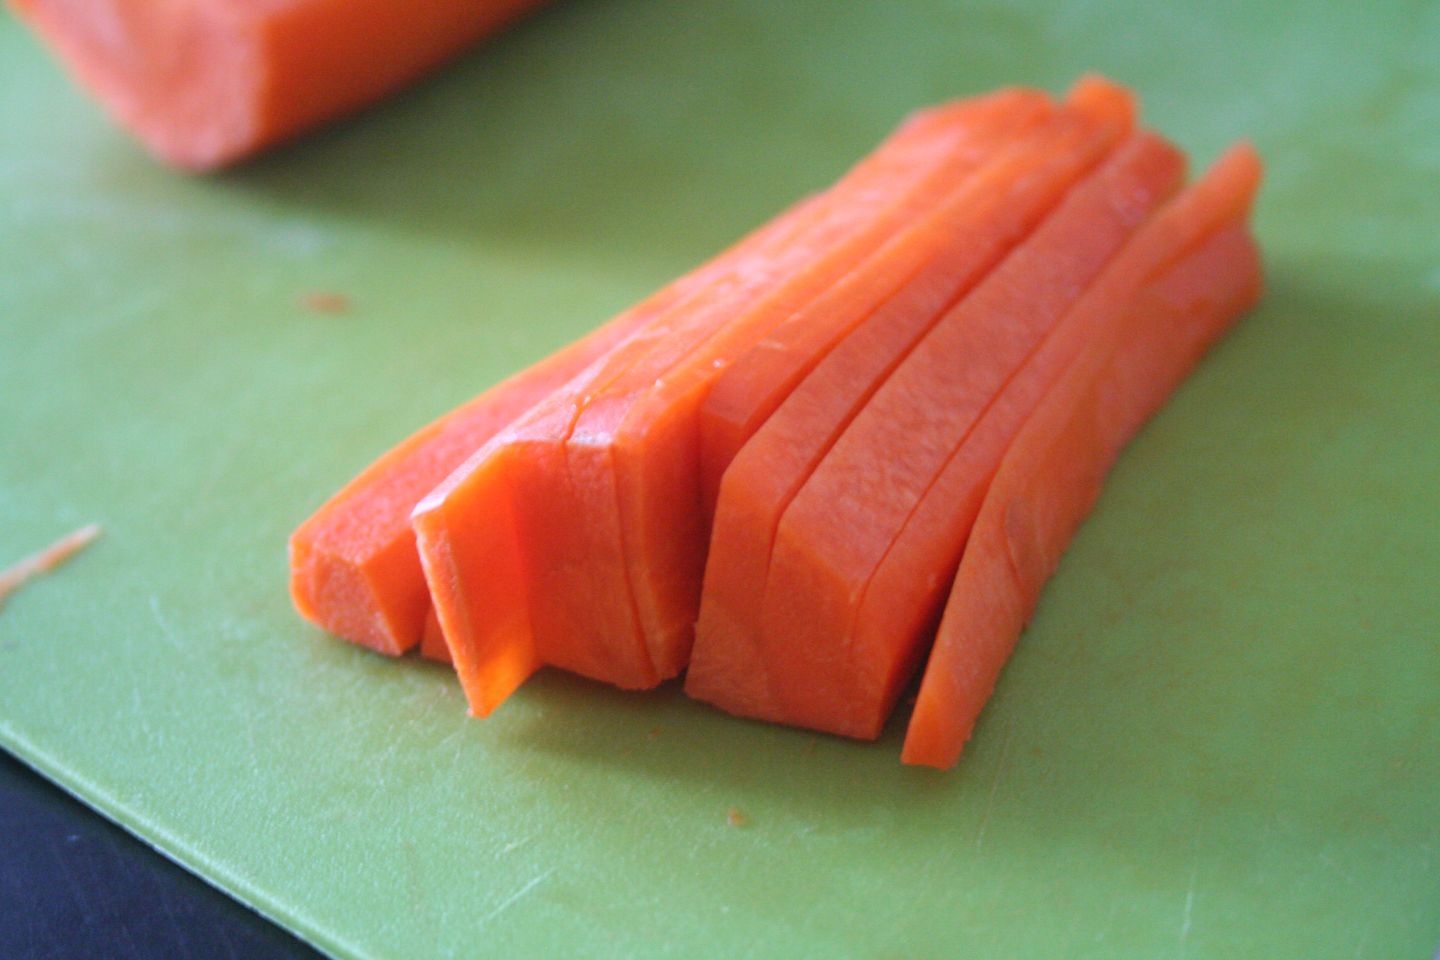
The thinner the carrots, the faster they’ll roast. With the carrot above, I also chopped each piece in half cross-wise.
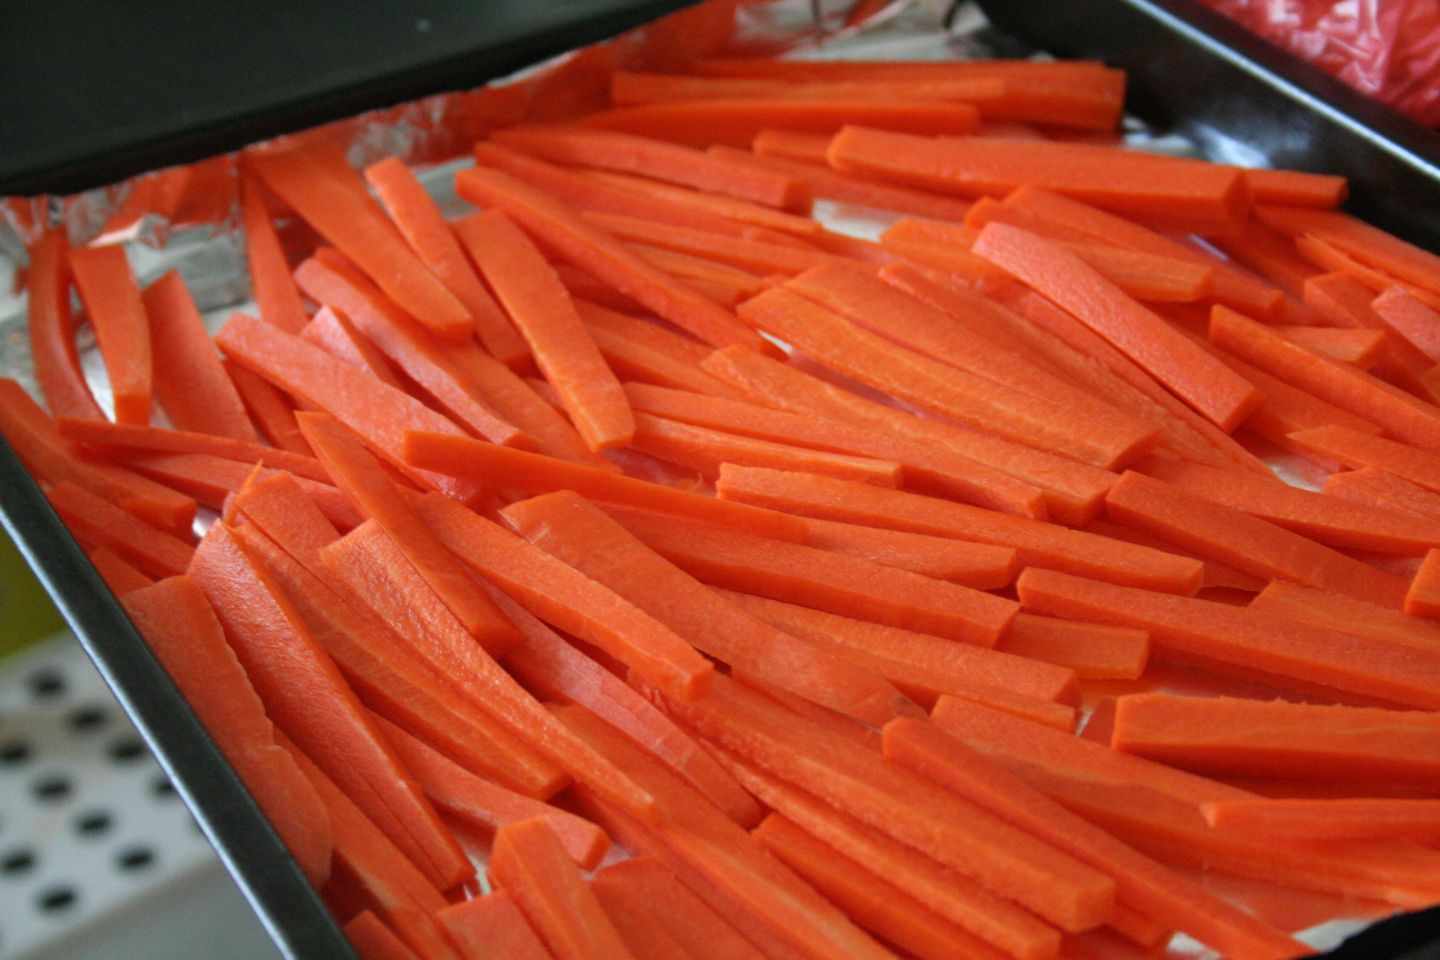
I usually chop up 3-4 carrots, and there are rarely leftovers! Don’t worry that they’re a bit over-crowded; they’ll shrink soon enough.
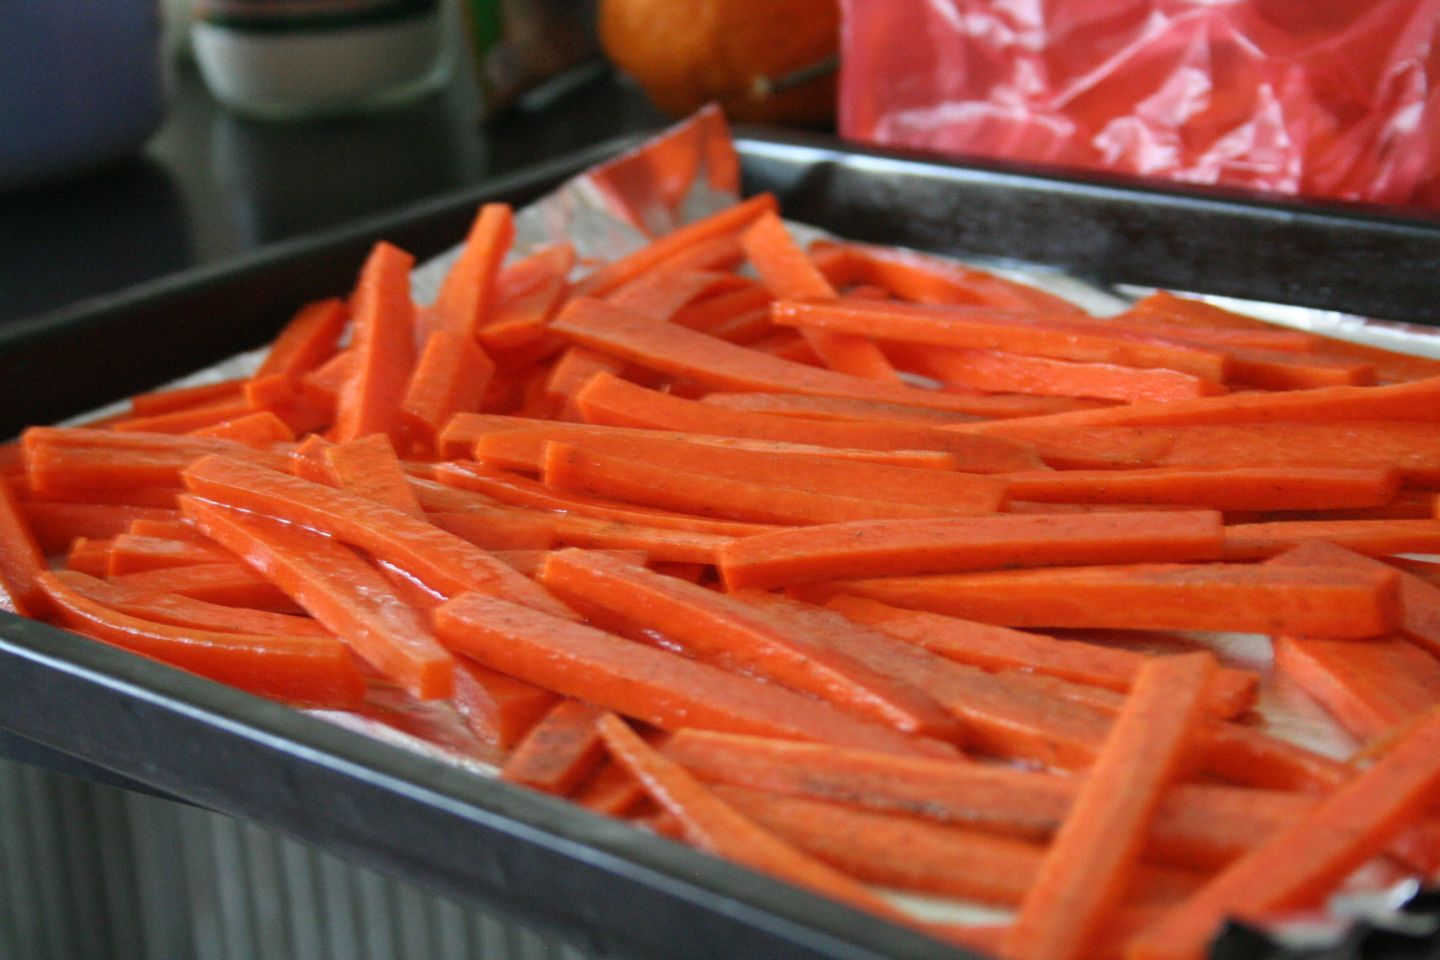
Drizzle with a little olive oil, then sprinkle some salt (or seasoning salt if you have it) and pepper. I usually keep it to these three simple ingredients, but you could explore with other spices, too!
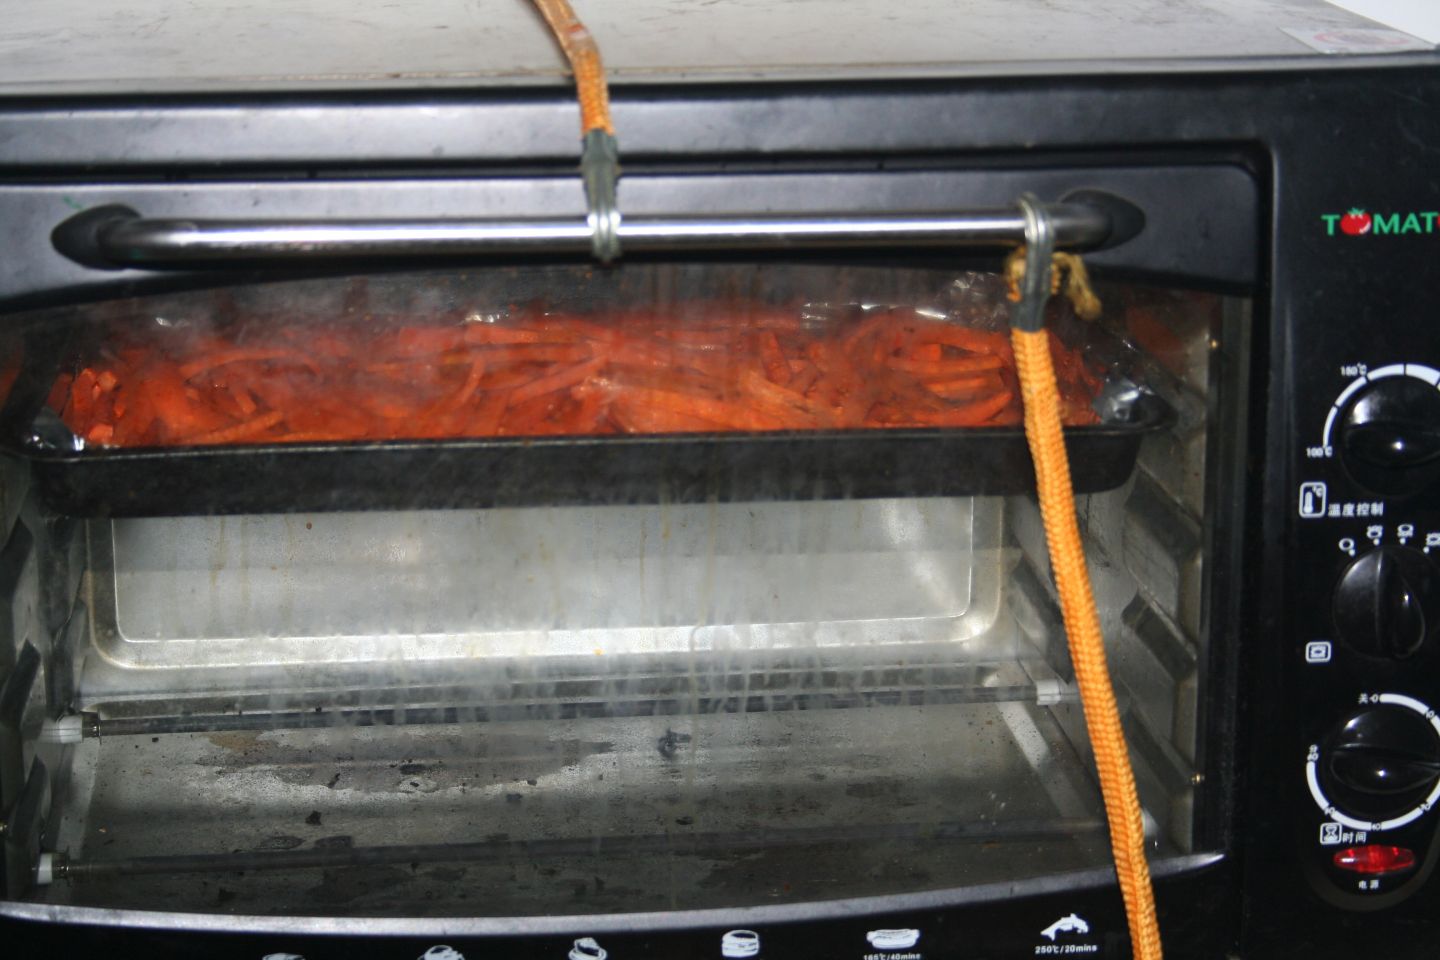
If you have a tiny (and dirty) oven like me, it doesn’t do “broil.” So, I just crank it up to the highest setting and turn on the top heating element only. What is that cord, you ask? What, your door spring didn’t break? Yeah…we do what we can, right?

Test one to make sure it’s cooked through. When they start to blacken on the ends, they’re done! Yum!
How have you adapted Easter dinner while living overseas?


)
Wish we had though of bungie cords for our oven! Your post brought back a lot of memories of us crazy foriegners doing something outlandish! We usually had our egg hunts inside or in a secluded area with team and other expat kids. We would have egg dying parties and sometimes were able to pass dyed boiled eggs out at “homes”. They loved those more than they did any candy. I applaud your efforts.
Yes, last year, we did the hunt inside with just one other family, but that was more because it was still snowing outside. 🙁 We’ll see what this year’s outdoor hunt brings!
Yeah, our first year we had an egg hunt for our Chinese colleagues’ kids, and we had several Easter-stealing Grannies, but most of them were dragging a small child behind- even at two, you gotta “win” even if your Grandma is the one who found all the eggs. 🙂
At leas they had a kid in tow! haha I guess if I grew up in a culture where you do not waste food, it would be a pretty weird experience to watch unfold.
My heart hurts a little as we are going to celebrate Easter for the first time overseas. It doesn’t even feel like Easter. It’s snuck up on us, and we’ve done NOTHING to prepare. Ugh. I’m trying to tell myself it’s not too late! I definitely need to try those rolls! Oh, and I want to know how to cure a ham! Pork abounds here, but no hams!
Brittany, hang in there! I feel like just about every holiday sneaks up on me, too. Hope you can find a special way to celebrate, and maybe start a new tradition or two! The way to cure a ham is on the same website as mentioned above. Direct link: http://www.market2meal.com/2012/09/make-your-own-cured-ham.html
A few notes: You need to turn over the ham after 2 days (if curing for 4). If not, only half of it will look/taste like ham–learned from experience! And, I found the cooking time to be MUCH longer, to allow 2-3 hours just to be on the safe side. You can always re-heat in the oven!
Hello! I’m enjoying your holiday meal posts. My friend introduced me to your website. I had to comment because I started laughing out loud when I saw your tomato oven! I love it and totally understand! I was keeping mine closed with our hammer, turning the head to hang down and “catch” the door. Watch out toes when you forget about it and just pull open the door! Ouch! Thanks for the recipes! -Christa
A hammer–now that’s a new idea! ha! Hope it holds together through your holiday baking!